
Saturday, September 22, 2012

Saturday, September 1, 2012
How to make your own natural floral crown

The beautiful photo above is by Brittany Watson Jepsen and Amanda Thomsen via the Etsy wedding blog.
Tuesday, August 28, 2012
Sourcebooks and their importance for artists

A sourcebook is any book that you use in your work, whether it's as a drawing reference or for clip art in your graphics. It can also be a book that you simply find full of inspiring images. Obviously we also have the phenomenal sources that the internet brings to our fingertips, but there is wisdom in keeping close a small arsenal of books as sources. Having something immediately tangible comes in handy for an artist now and then. Join me after the jump as I catalogue a few different kinds of sourcebooks.
Thursday, August 23, 2012
Now you too can make Gino's Famous Meatballs

The first order of business: make the base of all the things. For this meal you'll be making sauce, meatballs, and garlic bread. There are a few key ingredients that go in all of these, so you can blend them all together at once in the very beginning. Into a food processor, throw a lot of peeled garlic cloves (AT LEAST one whole head), a torn-up bunch of italian parsley, and parmesan cheese.


Tuesday, August 21, 2012
It never hurts to ask...
Some of you might know that I work for a program called After School Art at the Oxford Community Arts Center. Earlier this year I applied for some funding through PNC Bank. They're running a program called Neighborhood Wishlist, which is aimed at providing communities with money to start and sustain programs in their area. It's pretty cool because it allows anyone out there to try and actually make something happen in their community. So I saw this and thought, "wow! With that money we could bring in another visiting artist for the kids! Also, we could buy special materials for them to do unique projects!" And so I sent in my proposal and (drumroll please...) it's a finalist!
So, what does that mean? Ok, here is where I do it. Here is where I ask for help. I'm just going to rip off the band-aid:
I need you to vote for my program on Facebook.
Whew! There. I said it. Yes, you have to log into Facebook. Yes, you have to add the PNC app to vote. But here's the thing: for every single vote, the After School Art program receives a dollar. That's literally like you donated a dollar out of your pocket to a worthy cause, except it costs nothing. Except maybe one minute of your time. So please (don't make me get desperate) please vote. It's legit. It's a huge help to us running this arts program. Plus, you get three votes for the Wishlist program to use for other worthy causes. There are tons of cool projects out there just waiting to happen in neighborhoods all around us, and you can help make them happen!
So all you have to do is click this link then click the "go to our Facebook app to vote" button. It will prompt you the whole way, and I'll be ever so thankful.

Thursday, August 16, 2012
New York house + studio tour

Garin's home is an old revolutionary era farmhouse that has been fixed up and refurbished over the 20-odd years he's lived there. The house has an old carriage house in the back which has been renovated to become a large and beautiful studio, hence Garin has dubbed it Carriage House Art Studios. He works solo in the back section and holds workshops and open model sessions in the front. When he hosts larger workshops spanning a few days, he rents out the bedrooms in the top floor of the farm house, one of which we stayed in for the duration of the summer.


Next, let's head inside the house. Join me after the jump!
Tuesday, August 14, 2012
Back in town
Ah, life as I know it. It's good to back.
To get you caught up Cliffs Notes style, I'm just going to hook you up to my Instagram IV. A quick rundown: road tripping to NY, our attic room window, studio, NYC times, our live-in dog Lincoln, Sean painting (a model at the house + Grand Central at night), some new Homeward Handmade pieces, supplies, and home again. Enjoy! -hil


Monday, July 2, 2012
city painting
So, I may not be the best at updating lately, but as we all know it's hard to keep up on things when life isn't exactly, well, normal. So here's the scoop: we live in the attic of an old 18th century farmhouse in the Hudson River town of New Windsor with Garin (the artist with whom Sean is apprenticing) and his family. This includes a 2-year-old Weimeraner named Lincoln who keeps us busy with tug-of-war, stick throwing, and generally dreaming about having a dog of our own. Garin has a huge studio in the back of the house and some days Sean paints in there and models come at night, other times they do plain air. Well last week Sean got the privilege of painting with James Gurney, whose work you might recognize from Dinotopia or National Geographic, and he posted a video on his own blog. So to catch you all up, I thought I'd share it here. Enjoy! -hil
Wednesday, June 13, 2012
and...scene.
This past month has been saturated with the practical stresses of human life: moving, tying up loose ends, and generally preparing for a new chapter. Sean and I celebrated our first wedding anniversary at the beginning of this week. It was a welcomed period to the run-on sentence that was our move to a house on the other side of town, an unsavory activity that ate up our entire weekend. Sean is finishing his last bits of work today before summer vacation, and I am making sense of a house littered with cardboard boxes. The end of this week will send us on a long journey north where we will be spending 6 weeks in New York's Hudson River Valley. Basically, it's a busy/exciting/tiring time, which is good. It feels like our stage is being reset, and a whole new act is about to play out. I'm looking forward to devoting my attention to the etsy shop during our time there, while Sean apprentices with a master painter. The Hudson River Valley boasts an illustrious list of artists in it's history, chief among them being Thomas Cole, and a long tradition of plein air painting. We are thrilled to have the opportunity, and excited to get the moving done so we can get to the fun part.
Until then. -hil
Until then. -hil
 |
| photo by Chris Ramirez for the New York Times. Check out the article that goes with it here. |
Thursday, May 17, 2012
Confessions of a Lamp Tramp

But seriously, an inordinate amount.
I've been this way since I can remember, shuddering at the thought of overhead lighting. When I was in high school I purchased lamps from thrift stores to place around my room. I still have one that is so beautiful I refuse to trash it, despite the fact that it flickers every time I step on the wrong floorboard in our living room. I buy good lamps when I see them, even if it means I have to ship them home, even if it means they sit in the basement for a year before we use them. Because a good lamp is hard to find, and I am a lighting fanatic.
That's why, when I stumbled across Radiance Lighting, a little artisan lamp store in the UK, I was immediately smitten. I have never seen so many beautiful lamps and shades in one place! It's like a junkie's paradise. Especially these shades to the left. They are these old photographs of different neighborhoods superimposed with vintage floral fabrics. Gosh, I feel like they were made just for me.
On top of simply selling unique and beautiful products, I found Radiance's story inspiring to boot. Sean and I have dreamt many times of having a store with a studio or workshop in the back like the artisans of old, and that's exactly the model that founder Hannah Nunn used when opening her own lamp store. When a storefront opened up in her town, she jumped on it and transformed it into a space where she could work in the back and sell up front. Today she has enlisted other creative lighting geniuses who sell at the store and works alongside family and friends to run the operation. In 2010 Radiance moved to a larger location, and it you're into Before and Afters, you can find the entire process chronicled here.

more on Radiance Lighting after the jump!
Thursday, May 10, 2012
Husband of mine...
Wednesday, April 25, 2012
Crispy Fish Tacos: impress all your friends.

I know. I'm becoming one of those people who stands in the middle of the produce section squinting at her iPhone oblivious to the milling patrons trying to squeeze past her parked cart. But let me tell you this: the epicurious app is phenomenal and totally worth it.
No, I'm not being paid to tout this app, I just love it. Let me gush for a moment: it lets you search for recipes on-the-go in a myriad of different ways. One can search by main ingredient, meal/course, dietary consideration, dish type, and season or occasion. For example, when I found the Tilapia, I pulled up the app to search for a meal.I searched by main ingredient (seafood) and cuisine (mexican) and it lead me to this sure-to-please recipe for fish tacos. Plus, once you find your recipes, it will make a shopping list for you to check off as you go through the store and it organizes it all according to produce, dairy, meat, and on and on so you can make one quick pass. AND if you have multiple recipes that call for the same ingredient, it adds up the total for you. Oh my. Pure bliss.

So, back to the fish taco platter.
There were a lot of firsts for me: I had never marinated fish (or really anything) in buttermilk, I had never pickled anything, and had no clue how to make salsa verde. Thankfully those days are behind me now. This fish is pretty straightforward, it's really making all the little accouterments that can be time consuming. The recipe calls for Halibut or Bass, but I think you could use any of the flaky white fishes and this would work. Here's the scoop from the recipe:
Read on for the recipe after the jump!
Tuesday, April 24, 2012
Whimsical Wedding in Oxford, Ohio


more from Ellen and Luke's wedding after the jump!
Wednesday, April 18, 2012
Stick Forts as Art Forms: a project inspired by the work of Patrick Dougherty
 |
| photo by Bill Franz |
Tuesday, April 17, 2012
definitely flattered
 |
| flattery blog |
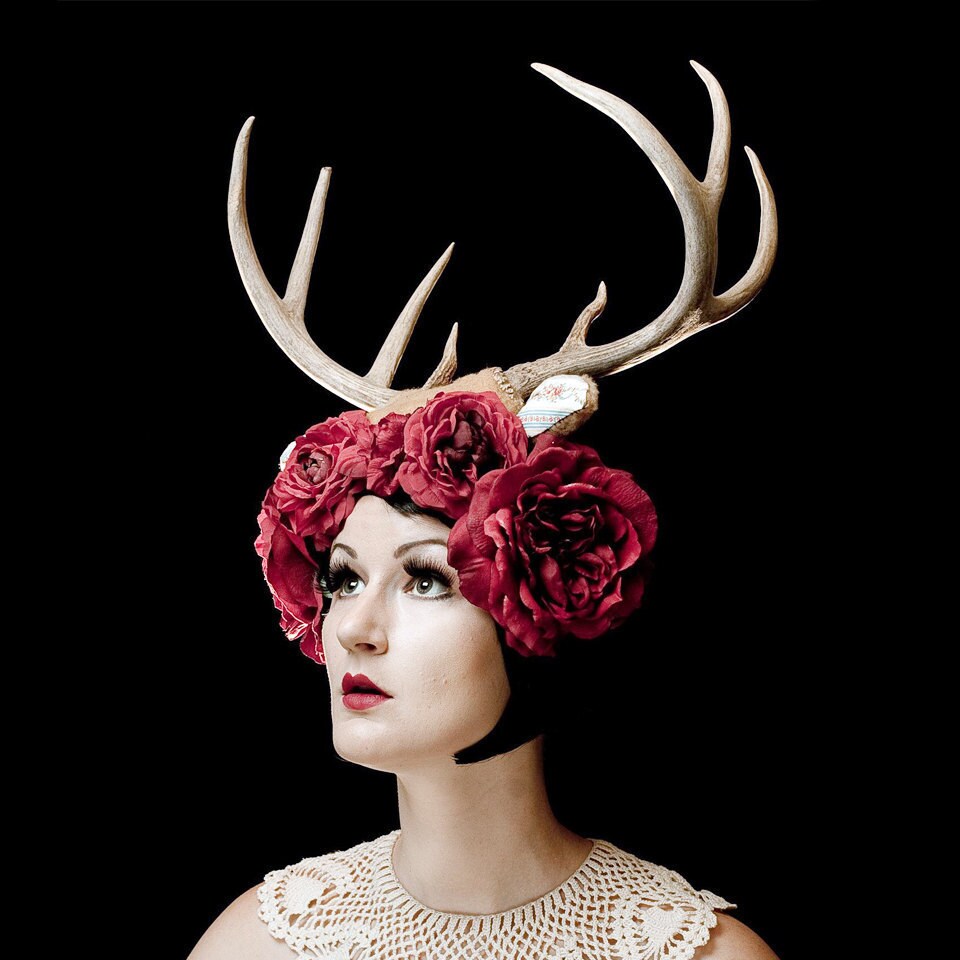
But before all that I wanted to share a couple exciting somethings: HomewardHandmade has been getting some press! I felt so honored to find one of my pieces featured on flattery, an adorable fashion blog. Seriously, I can't look through her posts without turning green with envy. Lucky for me (and you!) you can peruse and purchase her closet. I blushed when I found my little flower crown pictured along with some other creative Etsy women I so admire, like Garden of Whimsy, K is for Kani, and The Honey Comb.
On top of that, the lovely Sam at The Frosted Petticoat featured the same piece in one of her beautiful inspiration boards. If you're looking for some wedding ideas, this blog should be a stop on your list. You can view real weddings, inspiration collections, and even the bloggers take on what a wedding would look like for an unlikely pair (one of her featured ideas is for the hypothetical wedding of Angelina Jolie and Mr. Darcy). Stop by and give her a look, and thank you for the love! -hil
 |
| the frosted petticoat blog |
Tuesday, March 27, 2012
Put a bird on it? Don't mind if I do...
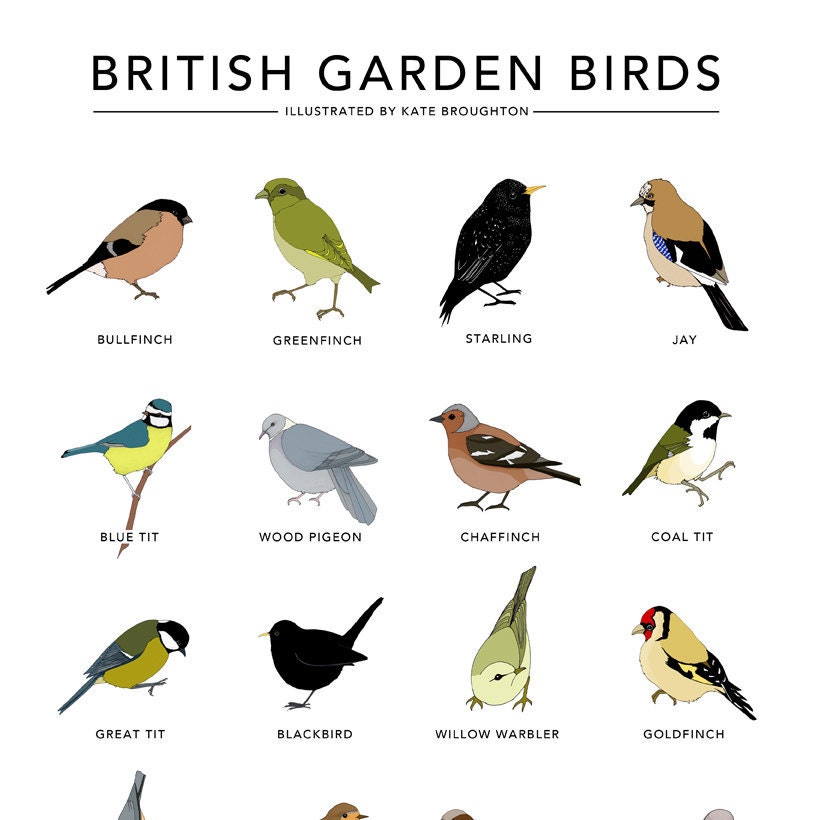
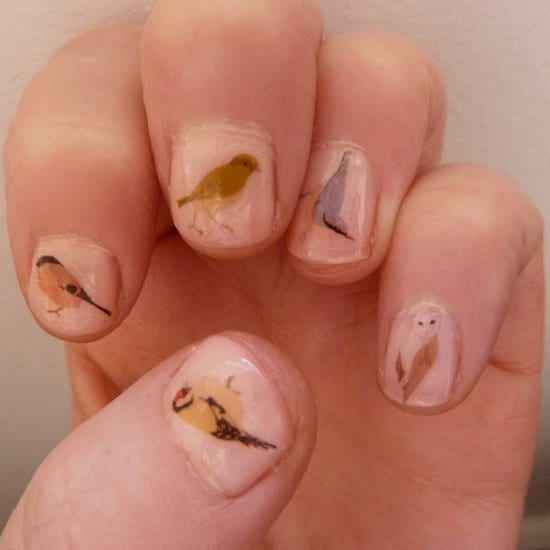
more of Kate's products after the jump!
Wednesday, March 21, 2012
Why I love Ginestra (and so should you)

 |
| delightfully engaged |
I did find a great blog on a gorgeous bouquet you can make yourself using Ginestra. You can find all the details for this lovely arrangement at Delightfully Engaged. They formulated this particular bunch with Sweet Peas (so pretty!), Ranunculus, Dusty Miller, and Rice Flower. It is absolutely to die for, and the how-to is straight forward and easy to follow. I hope you enjoy making it, or at least using the great tips it shares, and if you're ever in a flower shop (or the italian countryside) keep an eye out for Ginestra. You may grow to love it just as much as me. -Hil
Tuesday, March 20, 2012
Bridal Shower Decoration DIY

This weekend Shannon came into town and we had a bridal shower for our lovely friend Ellen who is getting married in just three short weeks! You may recall me posting a little about Ellen's wedding, in particular her vintage floral bridesmaid dresses from Louise Hedley. The nuptials are going to have a blue/green theme along with that lovely dash of bright florals. Our challenge? How to create a beautiful shower to honor our friend on a budget. Get the scoop after the jump!
Thursday, March 15, 2012
How To: plant a terrarium

For years I've been steadily accumulating glass containers with the intention of planting terrariums in them and yesterday, with the wonderful weather and just a little extra time between jobs, I finally did. I've been reading up on them and gathering plants, moss, and soil for about a week now. A couple of years ago my mom gave me the book The New Terrarium by Tovah Martin and Kindra Clineff. I thought it was cool but never took the time to read it...until last week. The book gives a very thorough explanation of terrariums: the first one accidentally created by a fern in a bottle, Wardian cases, open containers, etc. The best part is the great resource of case studies in the back, though. It tells you how to plant your own terrarium and beyond that gives a break down of the different environments and types of plants acceptable for use in them. It also lets you know the preferable supplies you'll need to plant each one. On top of that they list many greenhouses and nursuries from which to obtain supplies. With all this under my belt, I set off to plant my first terrarium. Read on for the visual how-to after the jump!
Wednesday, March 14, 2012
In the classroom with felted scarves

Subscribe to:
Posts (Atom)